Subnautica 2 resource farming routes overview
Subnautica 2 resource farming routes should be repeatable, safe, and tied to a crafting goal. A farming route is not just a place with resources; it is a loop you can run without getting lost, wasting oxygen, or filling your inventory with the wrong materials. Early Access updates may change spawn density or recipes, but strong route design will keep working.
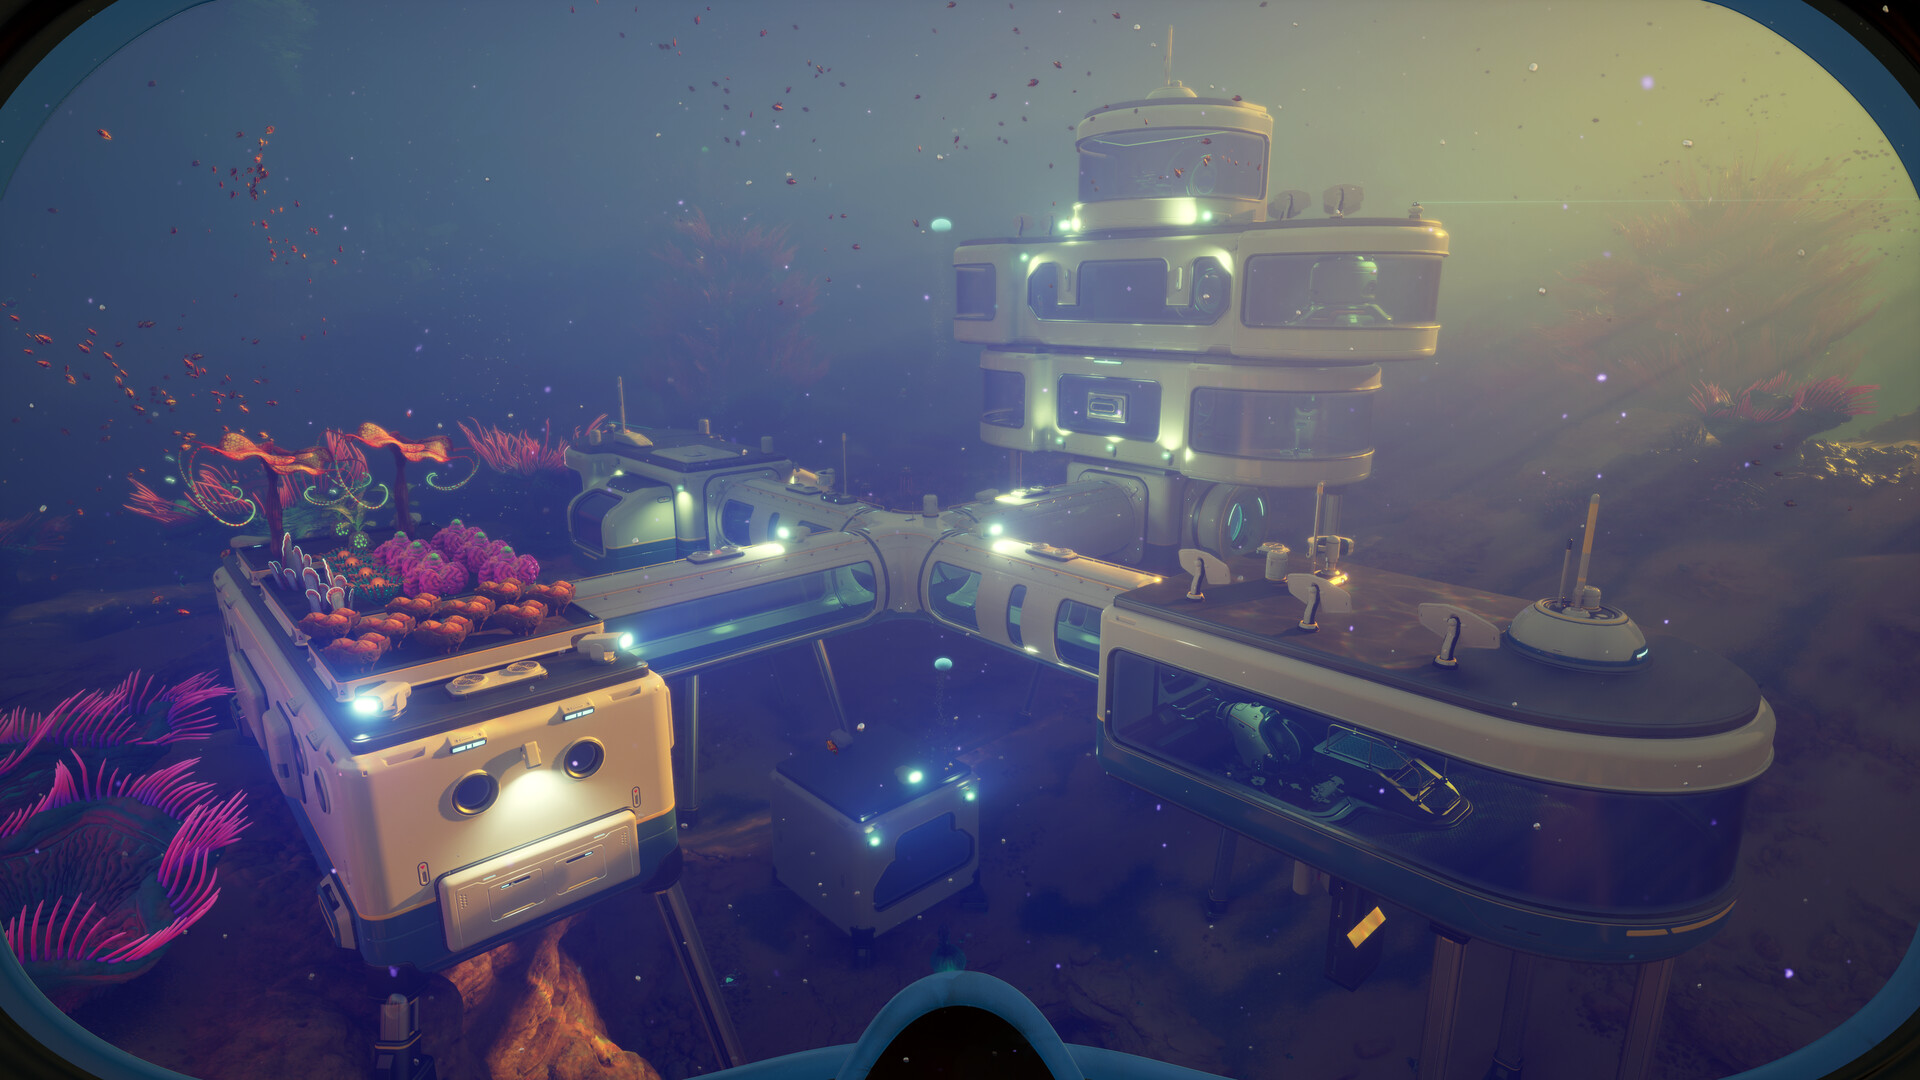
Build routes around goals, not biomes
Before leaving base, decide what the route is for. A tool route, base route, vehicle route, and scanning route should not all be the same trip. When routes are goal-based, inventory becomes easier to manage and you can judge success clearly.
Use this route definition:
| Route type | Main goal | Stop condition |
|---|---|---|
| Tool route | Materials for one upgrade or tool | Craft target complete |
| Base route | Power, storage, or module materials | Planned module set complete |
| Scan route | Fragments and blueprints | Main scans complete or oxygen limit |
| Deep route | One high-value material family | Return buffer reached |
If you return with a full inventory but cannot craft the intended item, the route was unfocused.
The three-point loop method
A reliable route has three points: start, gather pocket, and return marker. The start is your Lifepod, base, or vehicle stop. The gather pocket is the resource area. The return marker is the visual cue that gets you home. Do not rely on memory alone if the terrain looks similar from multiple angles.
Run the route once as a test before depending on it. On the test run, gather lightly and focus on orientation. If the route still feels clear after returning, convert it into a farming loop.
Inventory planning for farming routes
Inventory discipline matters as much as location knowledge. Leave with enough space for the target material. Bring only tools that support the goal. Return when the route objective is complete, not when every slot is full.
Good inventory rules:
- Reserve space for unexpected scans or rare finds.
- Store route outputs by crafting purpose, not by random discovery order.
- Keep common materials separate from strategic materials.
- Do not mix base-building materials with deep-route materials unless planned.
- Review storage after each run so the next route has a clear target.
The storage organization guide helps turn farming output into usable progression.
When a route is not worth farming
Some areas are interesting but inefficient. A route is not worth farming if it requires too much oxygen, has confusing exits, exposes you to threats you cannot handle, or produces too many irrelevant materials. Scouting such an area is still useful, but repeat farming should wait until you have better tools, oxygen, or vehicle support.
If a route repeatedly creates panic, downgrade it to a future route. Use shallow resources and cave minerals to build safer loops first.
Route notes that actually help
Keep notes short and practical. You do not need a perfect atlas to farm well. You need a landmark, a resource family, a hazard note, and a return cue. Example: “vent ridge, electronics materials, low cave branch, return toward bright shelf.” That kind of note is fast to use during play.
For co-op, standardize route names. If everyone calls the same loop by a different name, shared resource planning breaks down. The co-op roles guide explains how to assign gathering without duplicating work.
What to do next
Turn your best routes into a progression system: shallow loop for common materials, cave loop for minerals, deep loop for upgrades, and base loop for construction. Continue with the main resource locations guide, then connect your route outputs to crafting priorities.
Quick farming route checklist
Before running a route, define the material family, empty the right amount of inventory, and decide where the output will be stored. After the route, judge success by whether it advanced a craft or base plan. A full inventory of unrelated materials means the route needs a tighter objective.
Route performance review
After two or three runs, review whether the route still deserves attention. Keep it if it is safe, repeatable, and feeds an active craft or base system. Retire it temporarily if the material is no longer a bottleneck. Replace it if travel time, hazard pressure, or inventory clutter makes the loop inefficient compared with a newer route.
Current Early Access coverage notes
This Subnautica 2 resource farming routes page has been aligned with the expanded Subnautica 2 Early Access guide library. Subnautica 2 entered Early Access on May 14, 2026, and Unknown Worlds has said the game will continue receiving hot fixes, focused improvements, and larger updates that expand biomes, creatures, resources, tools, vehicles, and story content. Because of that, this guide should be read as a practical decision path rather than a fixed list of permanent coordinates.
When using this guide in the current build, start with one clear objective: safer opening progression, a specific crafting unlock, a repeatable resource route, or a more reliable return path. Check oxygen, food, water, storage, and tool slots before leaving base. If the route becomes unclear, return early and turn the information you gathered into a better second dive. That habit is more valuable than forcing one risky trip to do everything.
How this guide fits the expanded wiki
Game8-style guide hubs separate broad walkthroughs from item, tool, location, creature, biomod, and troubleshooting references. This site now follows the same coverage model while keeping the advice original and conservative. Use Subnautica 2 Resource Farming Routes as the main context page, then move into the narrower entry pages when you need a specific material, module, facility, biome, or bug-fix answer.
The most useful next step is to connect this page with beginner guide, resource locations, crafting priorities. Those related guides cover the adjacent decisions that usually determine whether the next dive is productive: what to craft first, where to scout, how to manage oxygen, and when to stop expanding a route.
Expanded route depth
Use this page as part of a larger progression chain instead of reading it in isolation. Before acting on Subnautica 2 resource farming routes, check what the next dive is supposed to accomplish, what material or scan would make the route safer, and what condition should make you turn back. That small planning step keeps Early Access changes from turning the guide into a brittle checklist.
For solo play, keep the route conservative: leave with spare inventory, return before oxygen becomes tight, and write down what changed after each trip. For co-op, assign one player to route safety, one to scanning or gathering, and one to storage or vehicle support. Shared progress works best when everyone knows the objective before leaving base.
If a patch changes an unlock, biome edge, recipe, or tool value, update the decision first rather than memorizing the old detail. The most useful follow-up reading is resource locations, shallow resources, storage organization, because those pages connect this topic to crafting, resources, route safety, and the next practical upgrade.