Subnautica 2 storage organization overview
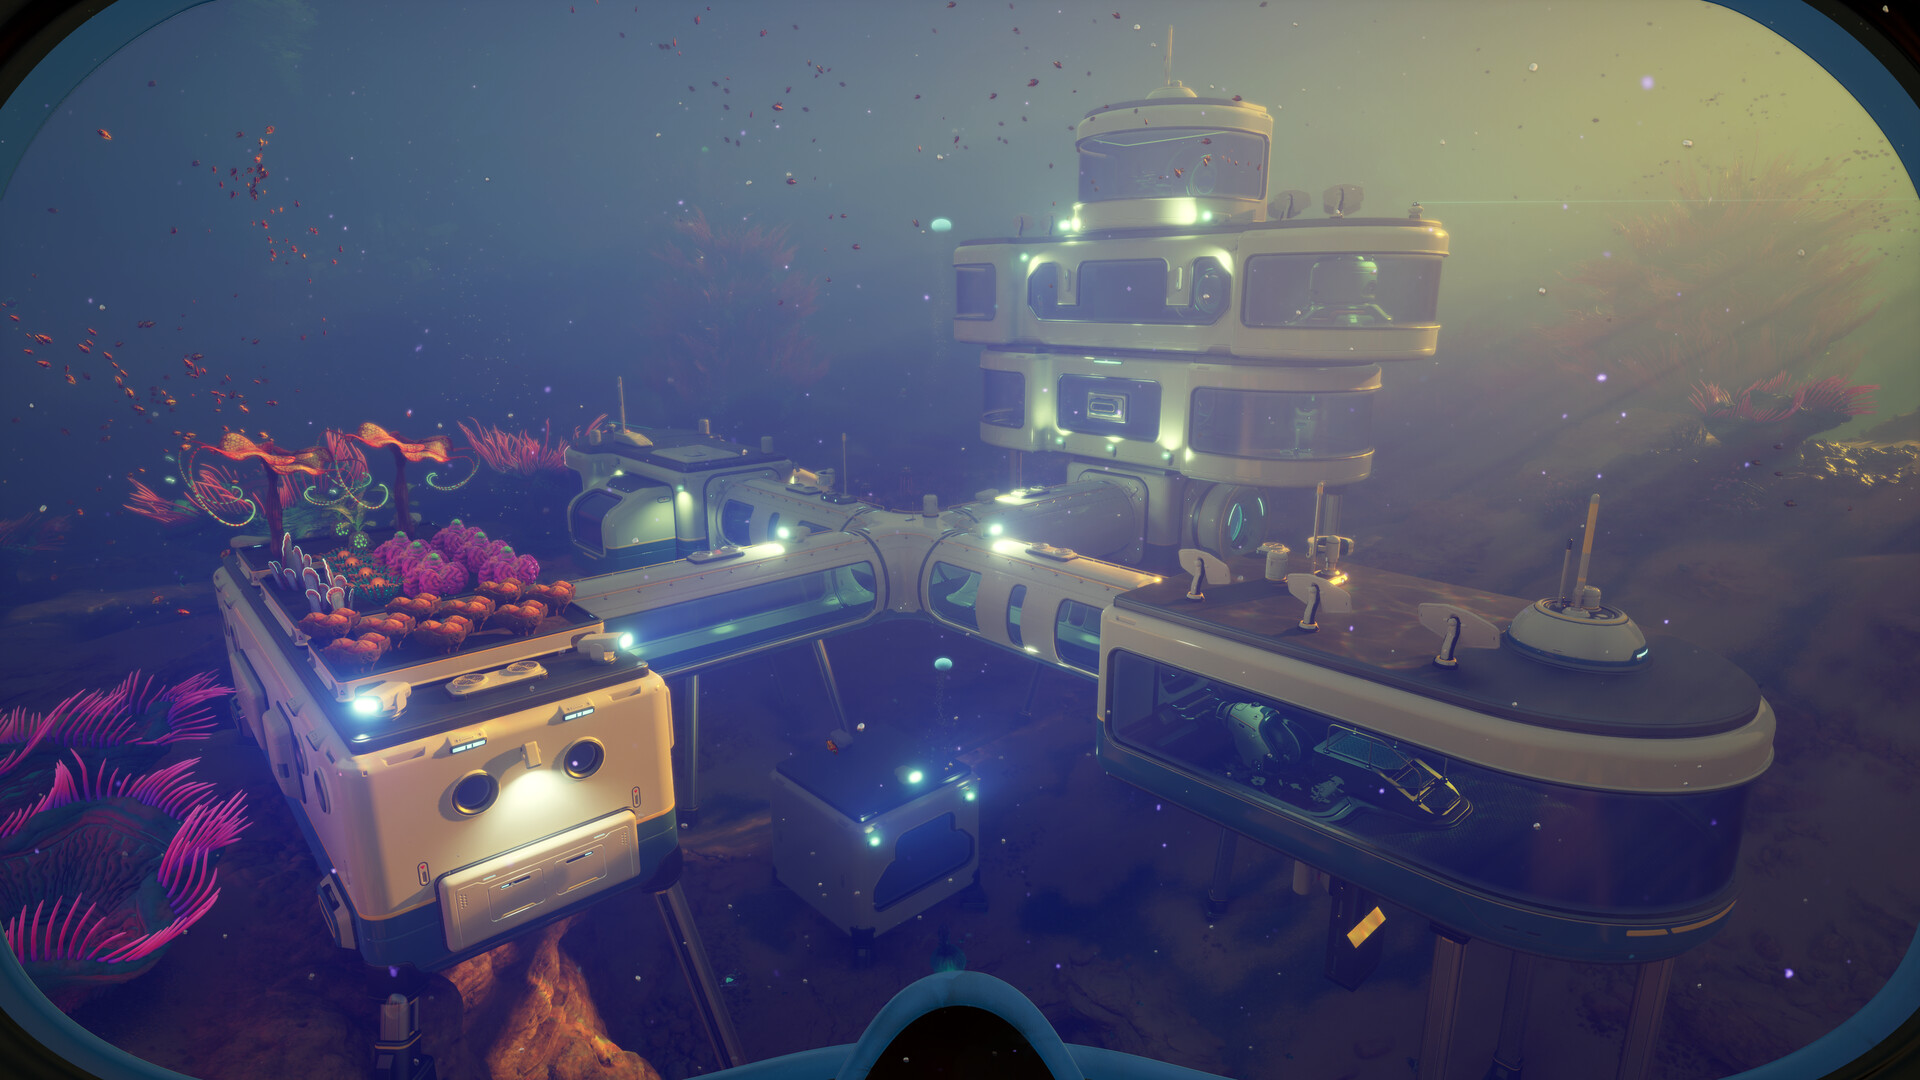
Subnautica 2 storage organization is what turns resource gathering into progression. A messy base makes every craft slower, hides important materials, and causes duplicate farming. Because Early Access balance can change, the exact materials you store may shift, but a clear storage system will keep working through patches.
Sort by crafting purpose
Sort materials by why you use them, not by where you found them. Location-based storage sounds tidy, but crafting usually asks for material types across several routes. Purpose-based storage lets you answer the practical question: “Can I build the thing I need now?”
Use a simple first system:
| Locker category | Purpose |
|---|---|
| Common crafting | Basic materials used constantly |
| Minerals and ores | Upgrade and electronics-related materials |
| Base modules | Structural, power, and habitat materials |
| Tools | Handheld tool and utility parts |
| Vehicles | Tadpole and upgrade planning |
| Overflow review | Temporary dump, cleaned regularly |
If you need more categories later, add them only when a locker becomes hard to use.
Keep storage next to the workflow
Storage should live near the decisions it supports. Common crafting materials belong close to crafting stations. Base materials belong near the build planning area. Vehicle materials should be grouped where you review vehicle upgrades. If you cross the entire base for every craft, the layout is creating friction.
The power and storage guide covers how base layout and power planning support this workflow.
Use route-based overflow carefully
Route-based overflow can be useful after a resource run, but it should not become permanent storage. A temporary “shallow route” or “cave route” locker lets you dump materials quickly, then sort them after the trip. If you never sort it, the locker becomes a junk drawer.
Good overflow rule: after two trips, sort the overflow before running a third. This keeps farming loops useful and prevents hidden bottlenecks.
Storage for resource farming routes
Every repeatable resource route should have a known output category. A cave route might feed minerals. A shallow route might feed common crafting. A vehicle route might feed upgrade materials. If a route produces too many unrelated items, narrow the objective before the next trip.
The resource farming routes guide helps define route goals so storage stays clean.
Co-op storage rules
Co-op makes storage organization more important. Four players can fill a base quickly, and shared materials disappear when everyone invents a personal system. Agree on categories early and keep critical progression materials in shared storage.
Co-op rules that prevent chaos:
- Do not hide team-critical materials in private lockers.
- Announce when a route fills a strategic category.
- Keep vehicle parts in one place.
- Keep base power materials separate from decoration or overflow.
- Review shared shortages before everyone leaves on separate trips.
The shared resources guide expands these rules for team sessions.
What to do when storage fails
If you cannot find materials, do not add more lockers immediately. First, consolidate. Remove duplicates, rename categories mentally, and decide which materials actually support the next objectives. Too many lockers can be worse than too few when categories overlap.
If crafting still feels slow, move the storage closer to the stations it supports. Layout fixes often help more than more capacity.
What to do next
Build a storage system that supports crafting decisions, resource routes, and team planning. Continue with power and storage, resource farming routes, and co-op base planning.
Quick storage audit
Run a storage audit whenever crafting feels slow. Can you find vehicle parts, base materials, common supplies, and strategic minerals in under a few seconds? If not, merge overlapping lockers, sort overflow, and move high-use materials closer to crafting stations. Storage is successful when it makes the next route obvious.
Storage review cadence
Review storage after major route sessions, not after every small pickup. Frequent tiny sorting wastes time, but ignoring storage for too long creates hidden shortages. A practical cadence is simple: run routes, deposit critical materials, craft what you can, then clean overflow before the next deep or co-op objective begins.
If a category keeps overflowing, split it by decision type. For example, separate base-building materials from vehicle materials instead of creating two identical general lockers. The split should make crafting faster, not just create more containers.
Current Early Access coverage notes
This Subnautica 2 storage organization page has been aligned with the expanded Subnautica 2 Early Access guide library. Subnautica 2 entered Early Access on May 14, 2026, and Unknown Worlds has said the game will continue receiving hot fixes, focused improvements, and larger updates that expand biomes, creatures, resources, tools, vehicles, and story content. Because of that, this guide should be read as a practical decision path rather than a fixed list of permanent coordinates.
When using this guide in the current build, start with one clear objective: safer opening progression, a specific crafting unlock, a repeatable resource route, or a more reliable return path. Check oxygen, food, water, storage, and tool slots before leaving base. If the route becomes unclear, return early and turn the information you gathered into a better second dive. That habit is more valuable than forcing one risky trip to do everything.
How this guide fits the expanded wiki
Game8-style guide hubs separate broad walkthroughs from item, tool, location, creature, biomod, and troubleshooting references. This site now follows the same coverage model while keeping the advice original and conservative. Use Subnautica 2 Storage Organization as the main context page, then move into the narrower entry pages when you need a specific material, module, facility, biome, or bug-fix answer.
The most useful next step is to connect this page with beginner guide, resource locations, crafting priorities. Those related guides cover the adjacent decisions that usually determine whether the next dive is productive: what to craft first, where to scout, how to manage oxygen, and when to stop expanding a route.
Expanded route depth
Use this page as part of a larger progression chain instead of reading it in isolation. Before acting on Subnautica 2 storage organization, check what the next dive is supposed to accomplish, what material or scan would make the route safer, and what condition should make you turn back. That small planning step keeps Early Access changes from turning the guide into a brittle checklist.
For solo play, keep the route conservative: leave with spare inventory, return before oxygen becomes tight, and write down what changed after each trip. For co-op, assign one player to route safety, one to scanning or gathering, and one to storage or vehicle support. Shared progress works best when everyone knows the objective before leaving base.
If a patch changes an unlock, biome edge, recipe, or tool value, update the decision first rather than memorizing the old detail. The most useful follow-up reading is power and storage, farming routes, shared resources, because those pages connect this topic to crafting, resources, route safety, and the next practical upgrade.